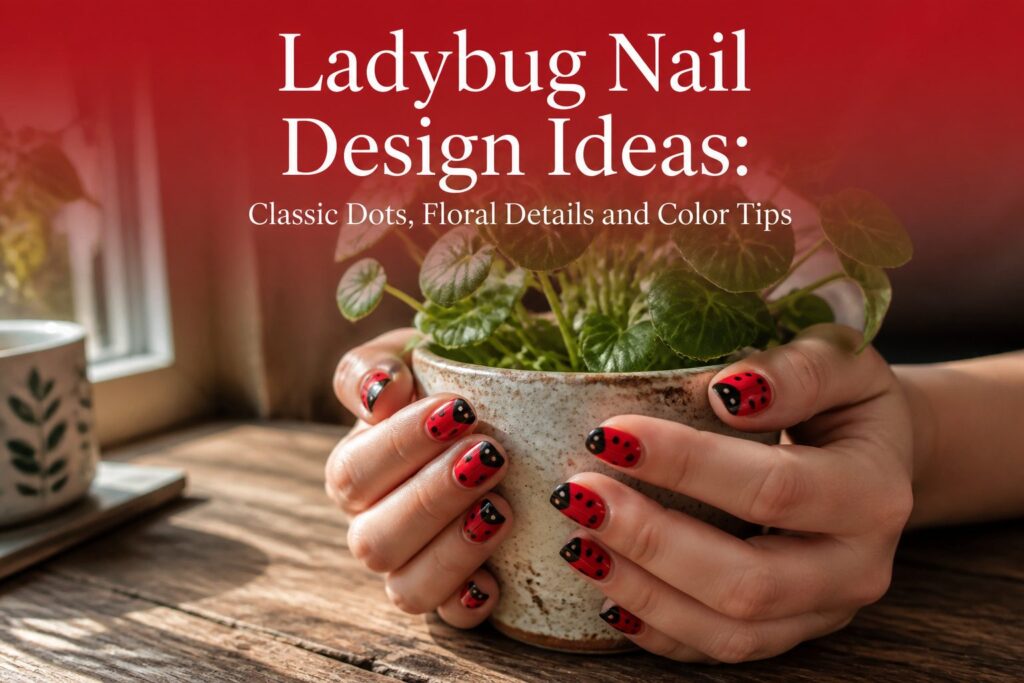
A ladybug nail design translates the beetle’s red shell and black spots onto your manicure.
The effect holds up only if the red stays true cherry, not coral or orange, since warmer tones lose the reference entirely and force awkward additions like antennae just to signal the theme.
A 2 mm metal dotting tool separates a clean circle from a ragged blob; brushes drag where the ball end lifts clean.
Classic Red Base and Black Dots
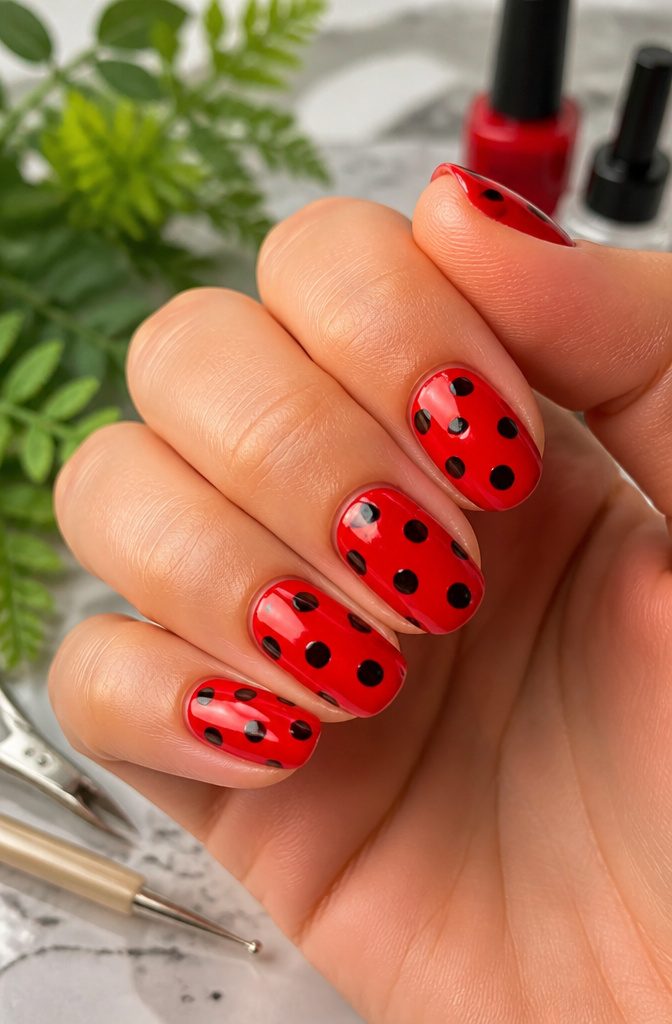
Red polish remains the default starting point for ladybug nails because the insect’s shell already supplies the scheme.
Black dots complete the recognition factor, sized small enough to read as spots rather than holes. Five or six dots per nail usually fills the space without crowding; fewer than that, and the pattern starts to look accidental.
A true cherry red, not orange-leaning or blue-leaning, carries the reference clearly. I have seen coral bases drift toward strawberry and lose the ladybug connection entirely, forcing the artist to add a head or antennae just to signal the theme.
The dots themselves need a steady hand or a dotting tool, placed while the red base is fully dry so the black sits on top instead of bleeding.
Two coats of red, one dotting pass, and a glossy top coat is the standard that still holds up in daylight. Anything busier than this starts to belong to a different heading.
Flowers, Glitter and Added Details
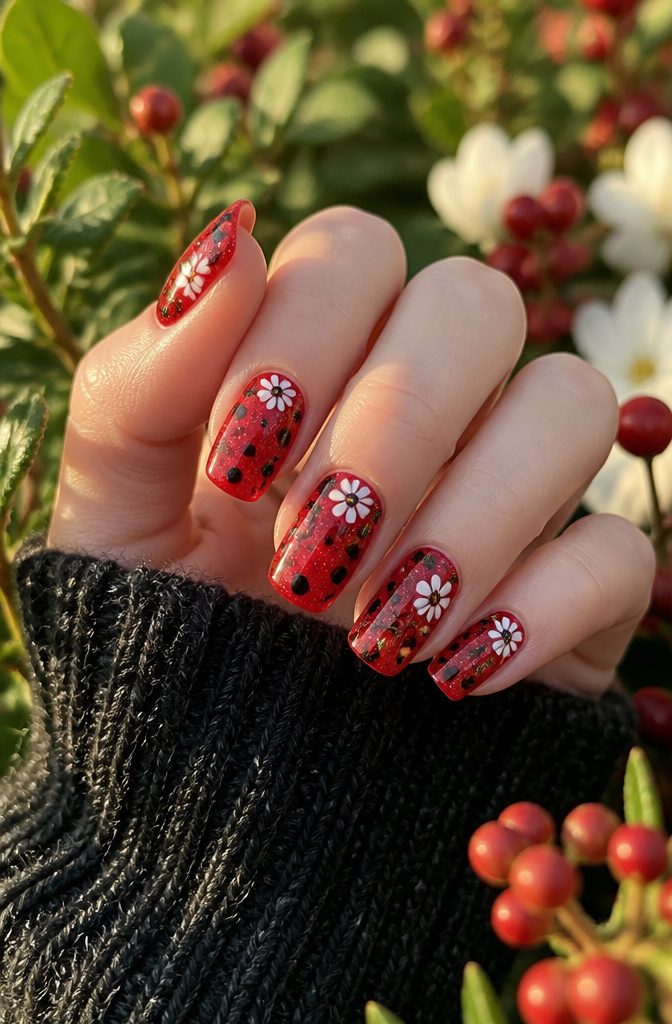
A small cluster of white flowers painted along the cuticle line softens the graphic punch of a classic ladybug design without diluting it.
In my experience, the red-and-black palette reads as playful already; adding floral details shifts the mood toward something you could wear to a spring wedding without feeling underdressed.
A thin vine trailing from the nail base to the first dot of the ladybug pattern keeps the eye moving so the extra element feels integrated, not pasted on.
Glitter demands tighter restraint.
A full-coverage red glitter base turns the bug’s spots into visual noise, but a stripe of fine black glitter bisecting the wing line, or a single dot of holographic top coat on each ladybug’s head, catches light the way glossy shell does on a real beetle.
I learned this the hard way with a chunky silver glitter accent nail that fought the design for attention.
The embellishments that work best echo something already present: matte black pollen dots inside tiny white daisies, or red glitter that matches the wing base exactly.
When every addition references the core two-color scheme, the result feels considered rather than crowded.
What Colors Work for Ladybug Nails
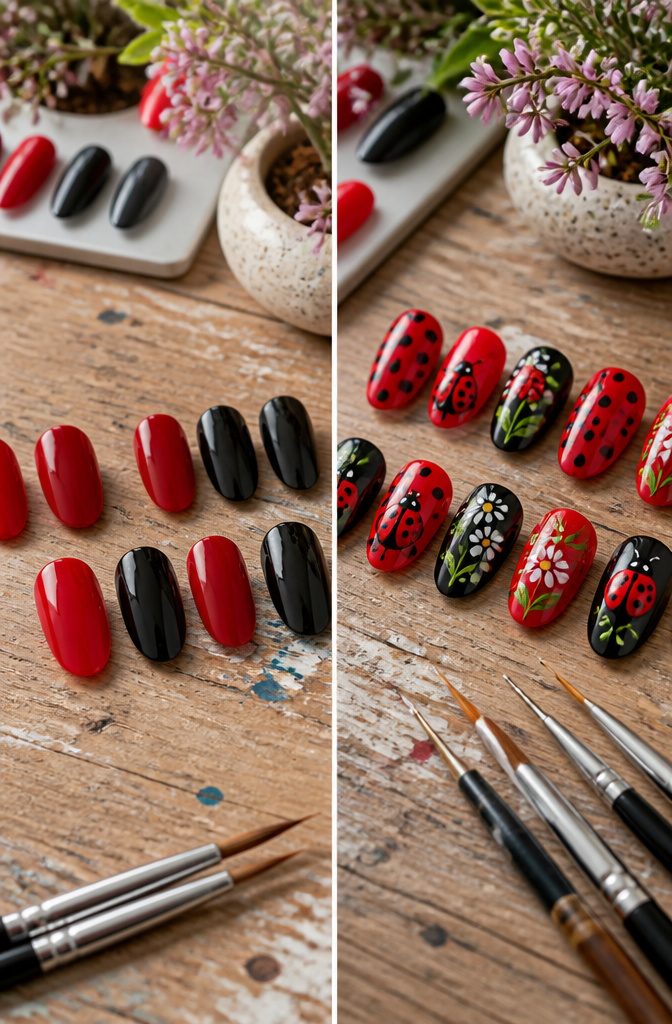
Red and black are the essential colors for ladybug nails, and they pair together for a reason that fits the design rather than forcing it.
The red base mimics the beetle’s actual wing covers, while the black dots give the pattern its readable silhouette from across a room. Without enough contrast, the spots blur into the background color and the whole effect flattens.
White comes in most often as a small accent for flower details or tiny highlights on the black dots themselves.
It lifts the design without competing. Green works the same way, usually for a leaf tucked beside the ladybug or a thin stem trailing off one nail.
These stay minor by choice; a full green base would read as something else entirely, not the classic look people recognize immediately.
The standard palette succeeds because it is already encoded in memory. Someone sees red with black spots and processes "ladybug" before they have time to decide if they like it.
That instant recognition matters for nail art, where the canvas is small and the viewer is usually at handshake distance or farther.
Stray too far from the formula, say a pink base with silver dots, and you have something pretty but no longer legible as its subject.
Most of the best designs stay loyal to the pairing and let the variation happen in scale, placement, or the extra details around the edges.
Dotting Tools and Brush Techniques
A clean ladybug spot lives or dies on what you press it with.
I have watched the same dot of black polish collapse from a toothpick blob to a perfect circle just by switching to a metal dotting tool with a 2 mm ball end.
The tool gives a controlled release; you dip, touch the nail, lift straight up, and the wet polish forms its own edge while gravity does the rounding.
Brushes fight this. Even a thin liner wants to drag or flicker on lifting, and freehand circles take steady hands I do not have after coffee.
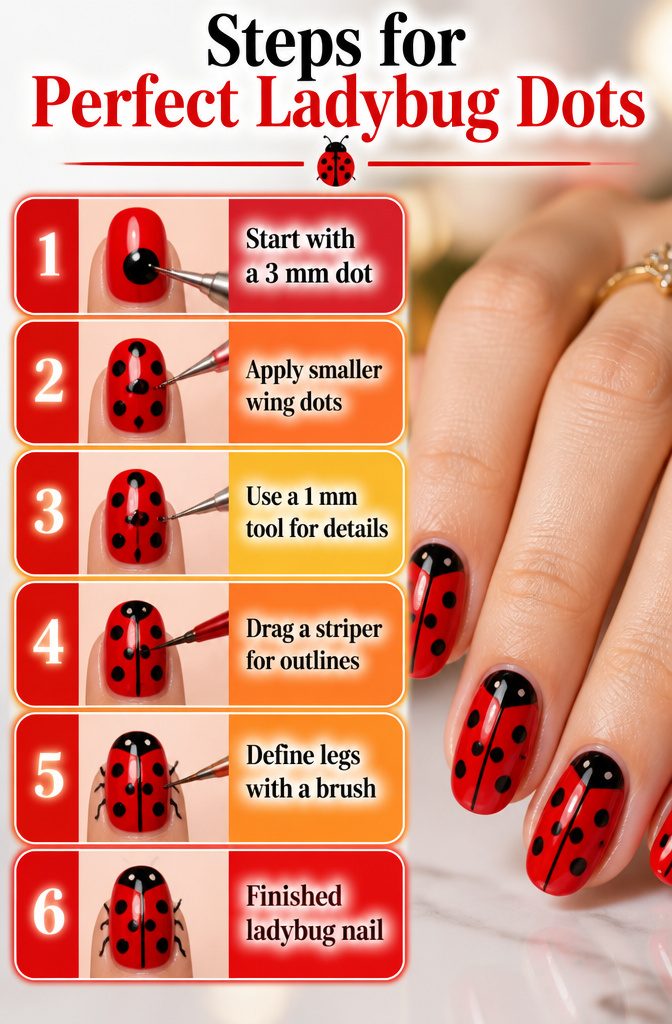
For the body dots, I work biggest to smallest.
The head gets one 3 mm dot centered; the wing spots sit slightly smaller, placed while the red base is tacky but not wet, so they sit on top rather than bleeding in.
A dotting tool with two ends, one 1 mm and one 3 mm, covers every size a ladybug needs without swapping. Smaller spots for the antennae tips or a wandering detail on an accent nail need only the fine end dabbed once.
Brushes earn their place on outlines. A short striper dragged from the head dot downward defines the central seam between wings, and the same brush can pull tiny legs if you want realism.
The rule I follow: dot for round, brush for straight. Crossing them almost always shows, and the woman noticing in her third meeting is the one I paint for.
Base Color Application
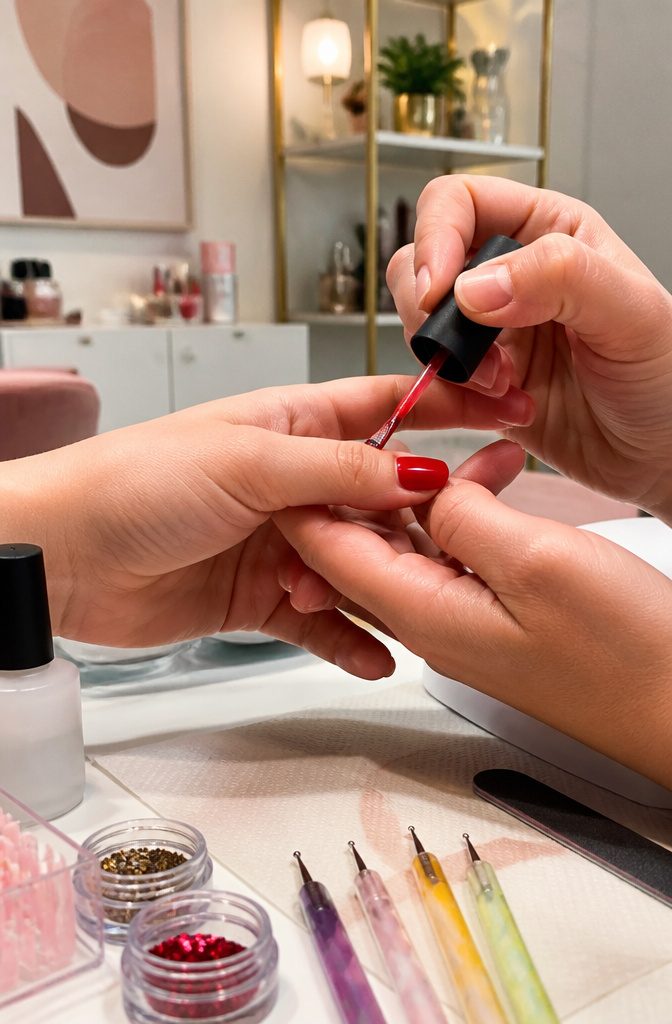
Red base coats for ladybug nails look simple until the coverage fails.
A single pass of bright red polish leaves streaks and a faint nail line showing through, which ruins the final dot work no matter how careful you are with black later.
Two thin layers cure or dry between coats, depending on your system.
The first layer tacks down pigment; the second builds the depth that makes black dots pop. I have rushed this and ended with pinkish undertones that dulled the whole design.
A true cherry or poppy red beats orange-leaning shades for that classic ladybug look.
Orange reads as generic citrus against green or floral accents later. Cool reds also hide minor imperfections in your dot placement better than warmer ones, since the eye expects ladybugs to carry that blue undertone anyway.
If you are using regular lacquer rather than gel, a ridge-filling base coat is worth the extra sixty seconds. Bare nails with any texture grab red unevenly, and two coats only lock that unevenness in place.
Spring and Summer Timing
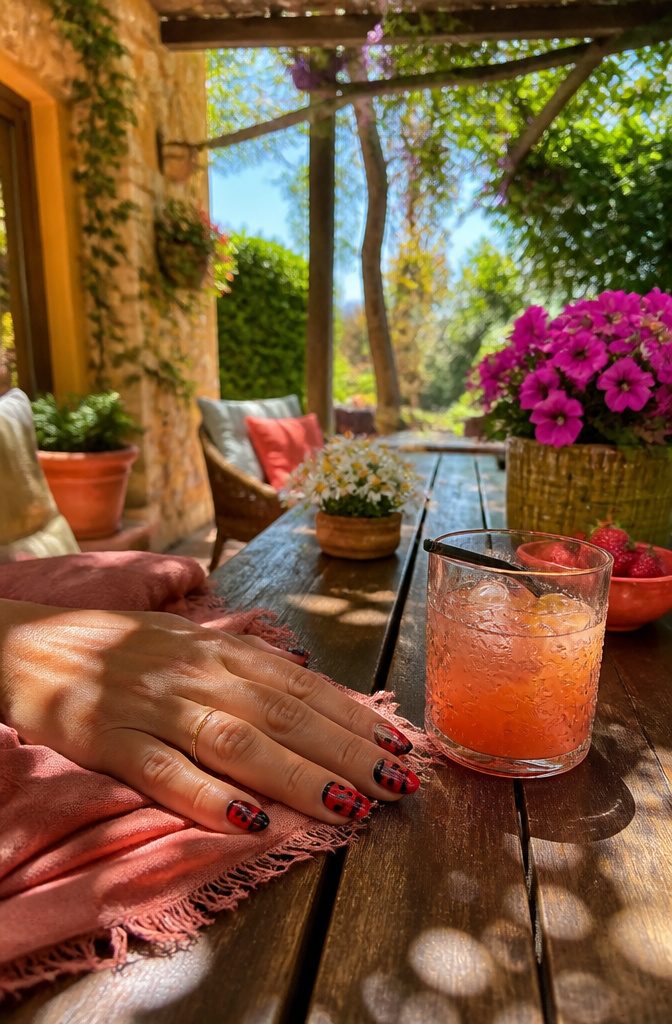
Ladybug nails start showing up on my feed right around March, and the timing makes immediate sense.
The design borrows its palette from the insects you actually see again once the weather turns, so wearing them in January feels slightly off, like sandals in a snowstorm.
May through August is the window where the motif feels lived-in rather than forced.
Salon bookings follow the same curve. My usual nail tech sees requests for ladybug art jump as soon as the first warm weekends hit, then taper after Labor Day when the aesthetic starts reading nostalgic instead of current.
The design does not stop working in fall, but the seasonal logic that makes it charming in June turns sentimental in October, which changes the whole effect.
This timing affects practical choices too. A full ladybug set with hand-painted detail runs higher than a basic color job, so most people schedule it when fingers are actually visible: sandal season for toes, bare-arm weeks for matching nail length.
The investment lines up with months of maximum exposure, which is probably why the design registers as a summer treat rather than year-round wardrobe.
Frequently Asked Questions
What colors are commonly used in ladybug nail designs?
Red and black are the essential colors for ladybug nails.
The red base mimics the beetle’s actual wing covers, while the black dots create the readable silhouette. White and green sometimes appear as small accents for flowers, leaves, or highlights, but they stay minor by design.
Are there specific techniques for applying ladybug designs?
A metal dotting tool with a 2 mm ball end gives the cleanest round spots; you dip, touch the nail, and lift straight up so the polish forms its own edge.
Brushes work better for straight lines like the central wing seam or tiny legs. The rule is dot for round, brush for straight.
How to do a ladybug on nails?
Start with two thin coats of true cherry or poppy red, letting each layer dry fully.
Use a dotting tool to place five or six black dots per nail while the red base is completely dry so the black sits on top without bleeding. Finish with a glossy top coat.
What is the hottest nail trend right now?
The seasonal timing aligns with when actual ladybugs appear and when fingers and toes are most visible.